Call Connector | Service Connection Guide
Creating a Connect account
- After successfully subscribing to a Call Connector plan, the user must continue to the next step of the setup process, signing up for a Connect account https://connect.ion8.net/.
- This link is also provided in the subscription confirmation email.

- Connect is the Admin Dashboard where you connect your services to Call Connector and assign Call Connector licenses to your team.
- Users must use the same email address used to subscribe to Call Connector when creating their account for Connect.
- For Clio users, this should also be the same email used to sign in to Clio Manage
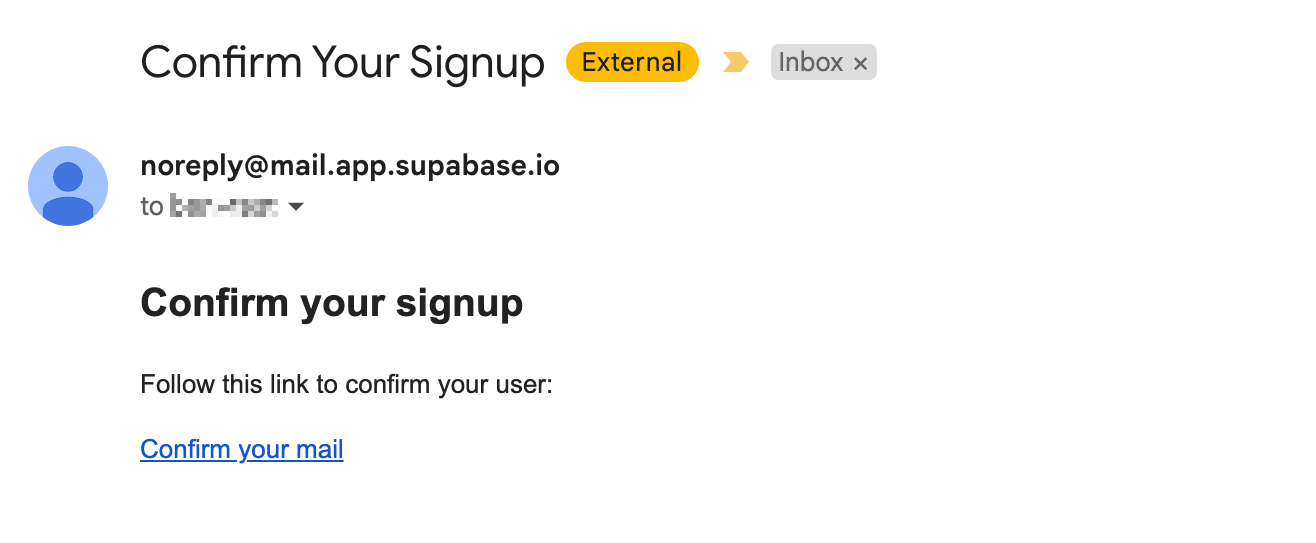
- Before you can log in to Connect and proceed to the next step, users will receive a signup confirmation email where they must click on the Confirm your mail link.
- This email may take 2 - 3 minutes to be delivered.
- Clicking the Confirm your mail link will open the Connect page in a new tab of your browser and sign you in.
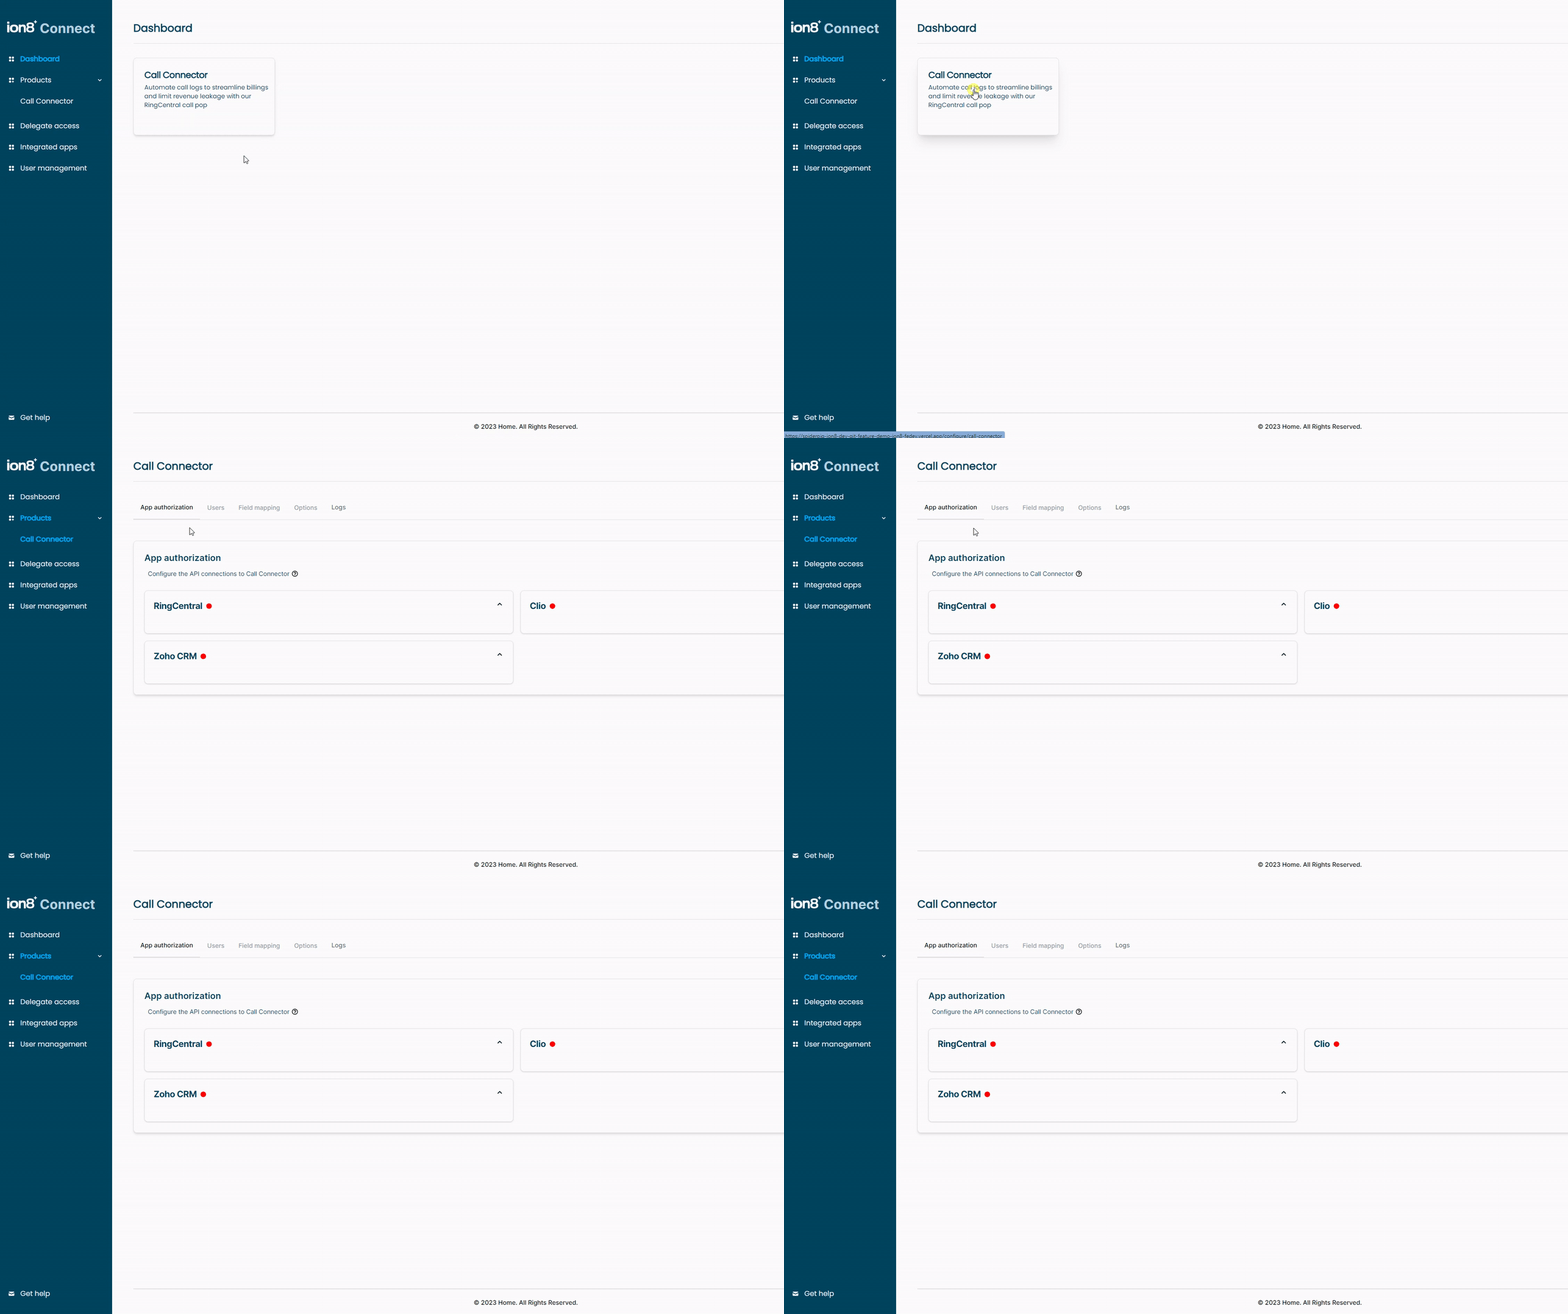
- In the Dashboard section, click on the Call Connector tile to view the App authorization page


Connecting RingCentral
- To connect your RingCentral service, this step must be completed by a Super Admin in RingCentral
- Note that the link can be shared with the RingCentral Super Admin to generate the token that can then be copied and shared back with the person doing the setup in ion8 Connect
- Select RingCentral to generate a token. The video below shows this process. When prompted, sign in to your RingCentral account to create the token (known as ‘JWT’ in RingCentral).
- ‘Call Connector’ can be used for the label name
- All other fields do not require changes
- Create JWT, copy the JWT then return to the ion8 Product Dashboard tab to paste this token value
- Save changes
- A green dot will appear when RingCentral is successfully connected
- ion8 Connect - Create token for RingCentral
Connecting Clio
- If you are connecting Call Connector to Clio, select Clio to authorize
- Sign-in to Clio may be required
- Once authorized, click the Configure button to save your changes
- A green dot will appear when Clio has been successfully authorized
- ion8 Connect - Authorize Clio
Connecting Zoho
- If you are connecting Call Connector to Zoho, select Zoho CRM to authorize
- Once authorized, click the Configure button to save your changes
- A green dot will appear when Zoho CRM has been successfully authorized
- ion8 Connect - Authorize Zoho CRM
Granting User Access
- After the connection has been established with RingCentral and your CRM (Clio and/or Zoho CRM), navigate to the Users tab.
- At the top of the user list, you will see the number of Call Connector licenses you have to assign.
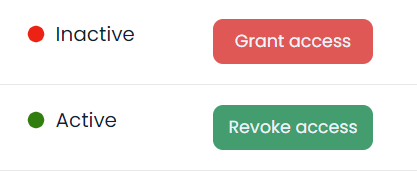
- Click the Grant access button to assign a license to particular users:
- Click Deploy at the bottom of the screen to apply the changes.


Field Mapping Between RingCentral and the CRM
- The Field mapping tab is where user mapping can be set and customized between your RingCentral user accounts and your connected CRM app users.
- Click Deploy at the bottom of the screen to save the mapping changes.

Other Options
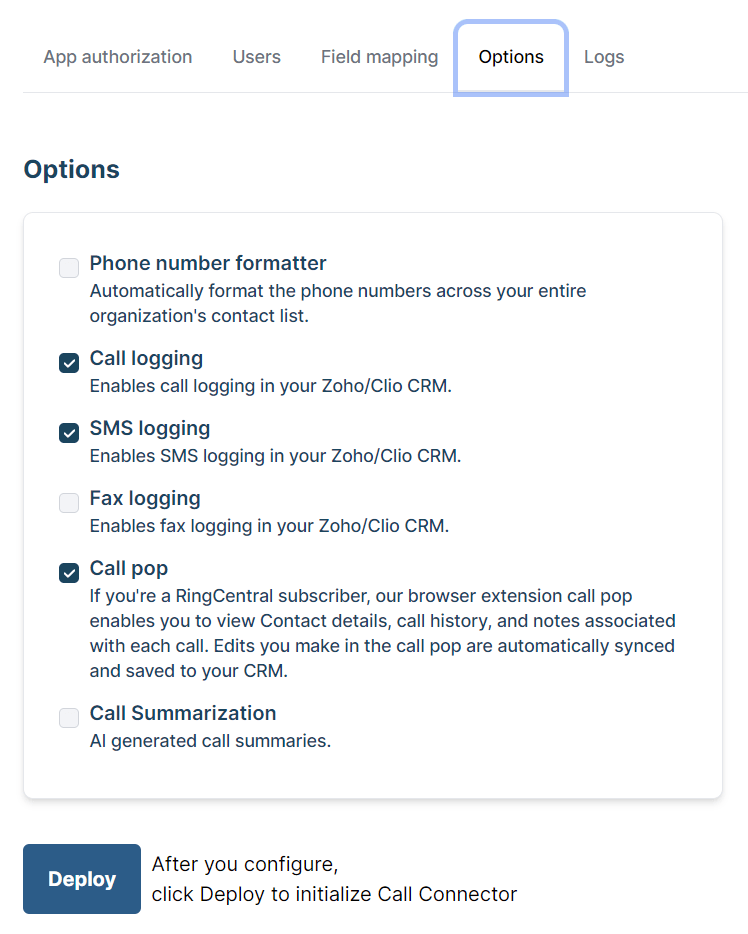
- View your Call Connector service options from the Options tab. Your plan’s feature will be preselected.
- Click Deploy at the bottom of the scene to save the changes to your feature selections.
- ion8 Connect - Authorize Zoho CRM

Setup Complete!
Your services are now connected to Call Connector. Communication types selected in the Options tab of Connect will now be automatically logged to Clio/Zoho for users with Call Connector access.
Call Connector App Download Link
The Call Connector browser extension enables you to view contact details, call history, and notes associated with each call. Edits to notes taken in the browser extension are automatically synced and saved to the call record in your CRM (Clio/Zoho).